
Microsoft Office Professional: Complete Installation & Deployment Guide.
Deploying Microsoft Office is more than just a simple software installation; it is the establishment of a professional productivity ecosystem. Whether you are setting up a high-performance workstation for data analytics or a creative environment for business presentations, a clean and optimized deployment ensures software stability, cloud security, and cross-platform synchronization. This guide provides an exhaustive walkthrough of the entire lifecycle—from pre-installation system audits to advanced activation and post-deployment optimization.
Phase I: Comprehensive Prerequisites & System Audit:
Before initiating the setup, you must ensure your hardware and software environment are fully prepared. A mismatch in system architecture can lead to significant performance bottlenecks.
- Hardware Compatibility: Microsoft Office requires a minimum of 4GB RAM (8GB is recommended for heavy Excel data modeling) and at least 10GB of available SSD space. High-speed storage is vital for the rapid indexing of Outlook databases.
- Operating System Protocol: Modern Office suites (Office 365 and 2021+) mandate Windows 10 or Windows 11. Ensure all pending Windows Updates are installed to avoid “DLL” missing errors during the installer phase.
- Conflict Resolution: If your system contains residual files from legacy versions (Office 2013/2016), use the official “Microsoft Support and Recovery Assistant” to perform a deep scrub. Installing a new version over an old one often corrupts the Windows Registry.
- Internet Stability: A stable connection is required to fetch approximately 4.5GB of core application files and security definitions during the real-time deployment.
Phase II: Sourcing & Downloading the Official Setup:
To ensure the integrity of your professional environment, hamesha official Microsoft distribution channels ka intekhab karein to avoid malware.
- The Deployment Portal: Navigate to the official setup.office.com or your Microsoft 365 Admin Center. Avoid third-party mirrors as they often package “bloatware” with the installer.
- Architecture Optimization: Most modern PCs should utilize the 64-bit (x64) version. The 32-bit version should only be selected if you are using specific, legacy third-party Excel add-ins that do not support modern architecture.
- Installer Type: Choose the Online Installer for a quick start or the Offline ISO if you need to install the software on multiple machines without re-downloading the entire package each time.
Phase III: The Core Installation & WinPE Protocol:
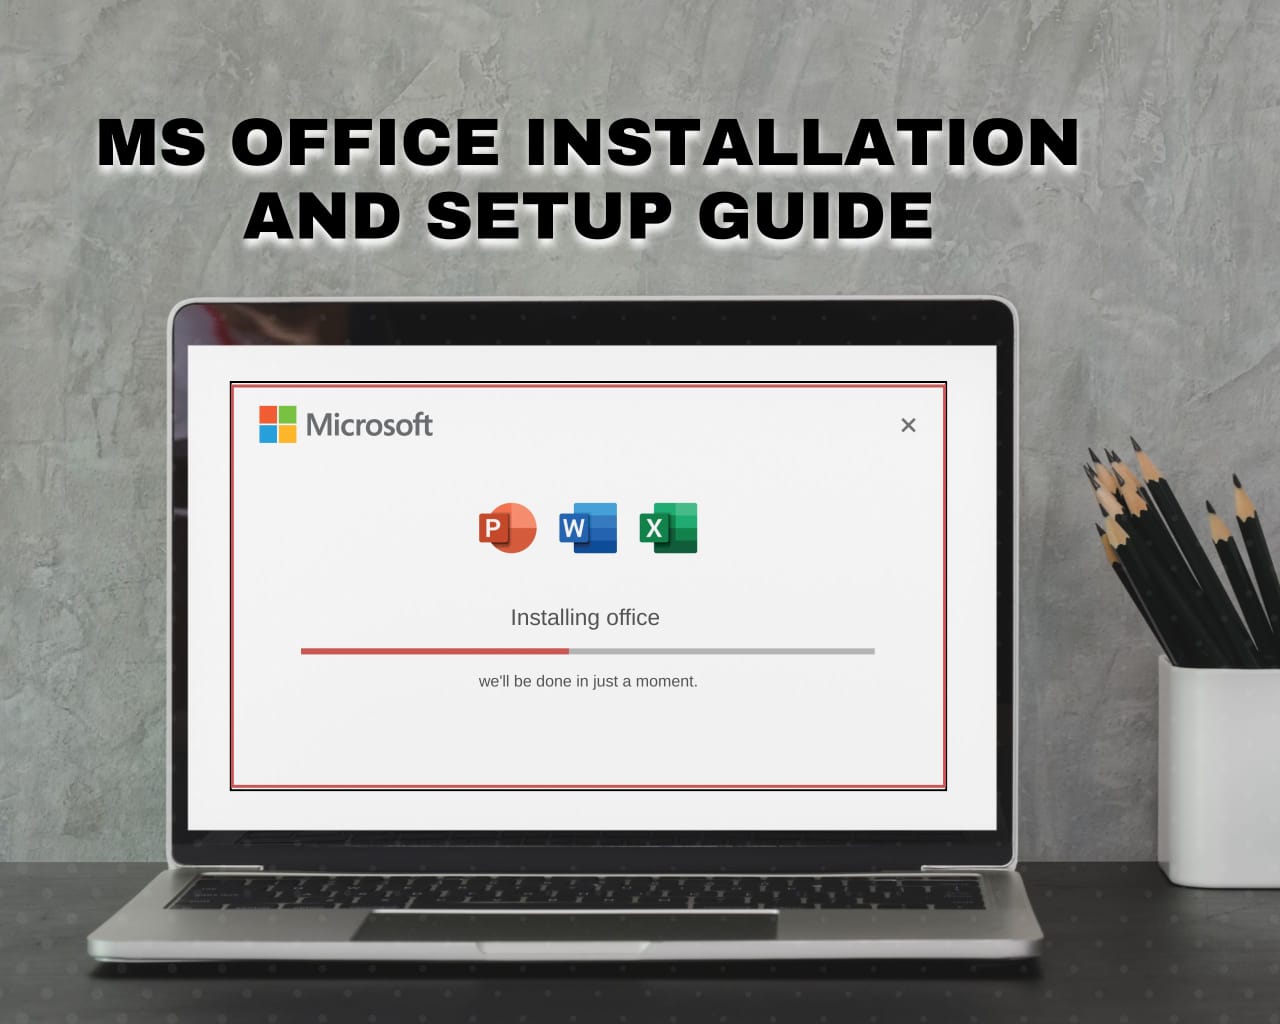
Once the installer is executed, the “Click-to-Run” technology begins the deployment process in the background.
- Administrative Initialization: Right-click the setup file and select “Run as Administrator.” This is critical to ensure the installer can register the COM+ components required for cross-app integration.
- Automated Deployment: The installer will display a progress bar. Avoid launching other high-resource applications (like Photoshop or Chrome) during this time to prevent memory paging errors.
- Installation Completion: Once the “You’re all set!” message appears, do not restart immediately. Allow the background services 2-3 minutes to initialize the licensing service.
Phase IV: Licensing, Activation & Digital Identity:
A professional suite is useless without valid activation, as most features will be “Read-Only” without a verified license.
- Account-Based Provisioning: Open any app (Excel or Word) and sign in with your corporate or personal Microsoft account. This “Digital Signature” will automatically bind the software to your hardware ID.
- Product Key Injection: If you possess a 25-character physical key, navigate to File > Account > Change Product Key. Enter the key and wait for the “Product Activated” status to appear.
- Regional Settings: Ensure your system clock and region match your licensing territory, as Microsoft’s activation servers perform a geo-sync check during the first run.
Phase V: Cloud Integration & Data Integrity:
Modern Office functions best when connected to the OneDrive cloud ecosystem.
- OneDrive Synchronization: Link your account to the OneDrive app. This enables Auto-Save, which uploads every keystroke to the cloud, preventing data loss during power outages or system crashes.
- Default Storage Path: Navigate to Options > Save and check the box “Save to Computer by default” if you want local copies, but ensure “Auto-Save” remains active for cloud redundancy.
- Version History: Once cloud-synced, you can right-click any file to “View Version History,” allowing you to revert to any previous state of the document—a vital feature for professional editors.
Phase VI: Post-Installation & Performance Tuning:
The desktop is ready, but a professional setup requires final hardware-level tuning.
- Security Patching: Go to File > Account > Update Options and click “Update Now.” This will fetch the latest stability patches that the initial installer might have missed.
- Hardware Acceleration: In Options > Advanced > Display, ensure “Disable hardware graphics acceleration” is unchecked. This allows Office to use your GPU for smoother scrolling and transitions.
- Add-in Cleanup: Disable unnecessary “COM Add-ins” (like OneNote Notes or TeamViewer) that often increase the startup time of Word and Excel.
Professional Pro-Tips
- Quick Access Customization: Add the “PDF Export” and “Track Changes” buttons to your top bar to save hours of menu-searching every week.
- Template Libraries: Always download the “Professional Business” template pack from the Microsoft store instead of starting with a blank page to ensure consistent branding.
- The Principles of Least Privilege: If sharing your PC, never give “Admin” access to guest users; keep the Office licensing under your own secure Windows Profile.